Tag: Quick Dinner

  • Pad Thai — Thailand’s Most Beloved Noodle Dish

    Pad Thai — Thailand’s Most Beloved Noodle Dish

    🇹🇭 Thai Classic

    Pad Thai

    Thailand’s most beloved noodle dish — smoky stir-fried rice noodles with shrimp, egg, tamarind, and roasted peanuts in just 30 minutes.

    ⏱ 20 min prep🍳 10 min cook👥 2 servings⭐ Medium🔥 520 kcal
    ↓ Jump to Recipe

    Few dishes capture the soul of a country quite like Pad Thai. Born on the bustling streets of Bangkok and beloved across the globe, this stir-fried rice noodle dish strikes a perfect balance of sweet, sour, salty, and umami. With a sizzling-hot wok, a handful of pantry staples, and just ten minutes of cooking, you can bring the magic of a Thai street stall straight to your kitchen.

    Prep Time
    20 min
    🍳
    Cook Time
    10 min
    Total
    30 min
    👥
    Servings
    2 people
    Difficulty
    Medium
    🌍
    Cuisine
    Thai

    Ingredients

    For the Noodles

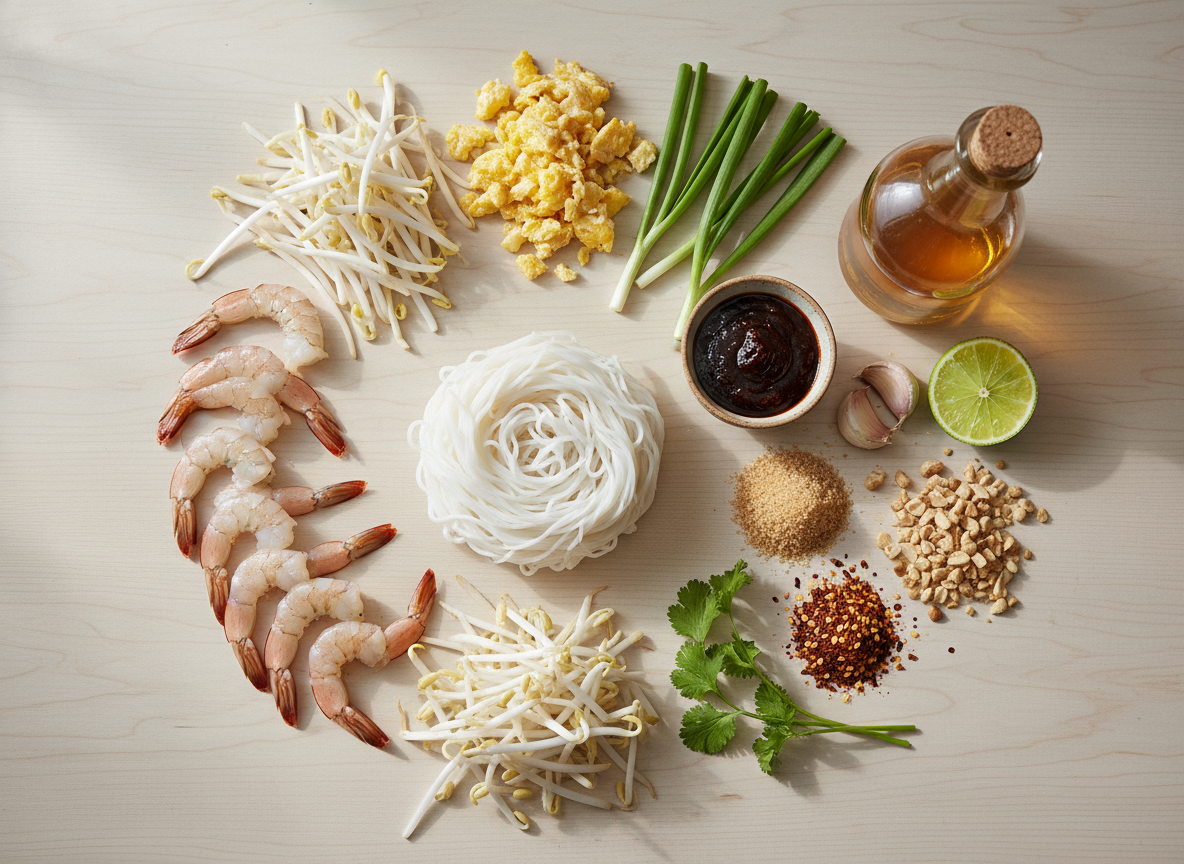
    • 200g dried rice noodles (3–5mm wide)
    • 200g raw shrimp, peeled and deveined
    • 2 large eggs
    • 100g firm tofu, cubed (optional)
    • 3 tbsp neutral oil (vegetable or sunflower)

    Pad Thai Sauce

    • 3 tbsp tamarind paste
    • 3 tbsp fish sauce
    • 2 tbsp palm sugar (or brown sugar)
    • 1 tsp sriracha or dried chilli flakes
    • 1 tbsp oyster sauce

    To Finish & Serve

    • 100g bean sprouts
    • 3 spring onions, cut into 3cm pieces
    • 3 cloves garlic, minced
    • 60g roasted peanuts, roughly crushed
    • 2 limes, cut into wedges
    • Fresh cilantro to garnish
    Pad Thai ingredients flat lay

    Step-by-Step Instructions

    1

    Soak the Noodles

    Place the dried rice noodles in a large bowl and cover with room-temperature water. Soak for 20–30 minutes until pliable and slightly translucent but still firm. Do not use hot water — they will finish cooking in the wok and hot water makes them mushy.

    Pad Thai ingredients
    2

    Mix the Sauce

    In a small bowl, whisk together the tamarind paste, fish sauce, palm sugar, oyster sauce, and sriracha. Taste and adjust — it should be tangy, sweet, and salty in perfect harmony. Set aside ready to hit the wok.

    3

    Stir-fry the Shrimp

    Heat your wok over the highest flame possible until it begins to smoke. Add 2 tablespoons of oil, then add the garlic and stir for 20 seconds. Add the shrimp and toss vigorously until they curl and turn pink, about 90 seconds. Push to the side of the wok.
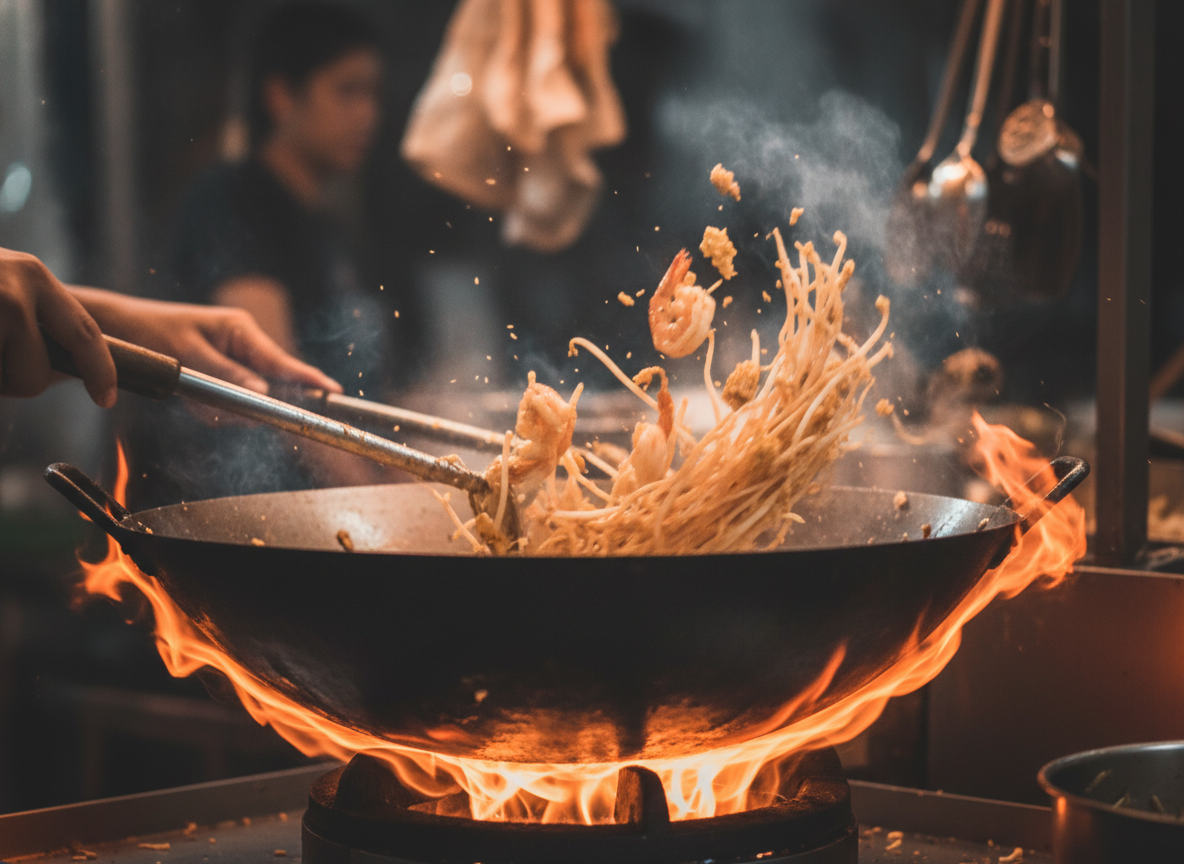
    Pad Thai cooking in wok
    4

    Scramble the Eggs

    Add the remaining oil to the centre of the wok. Crack in the eggs and let them sit for 10 seconds until the whites just begin to set. Break the yolks and scramble lightly, then toss together with the shrimp before the eggs are fully set.

    5

    Add the Noodles & Sauce

    Drain the soaked noodles and add them to the wok. Pour over the Pad Thai sauce and toss everything together using tongs. Stir-fry on high heat for 2–3 minutes, letting the noodles soak up the sauce and develop a light char. Add a splash of water if they stick.

    6

    Finish & Plate

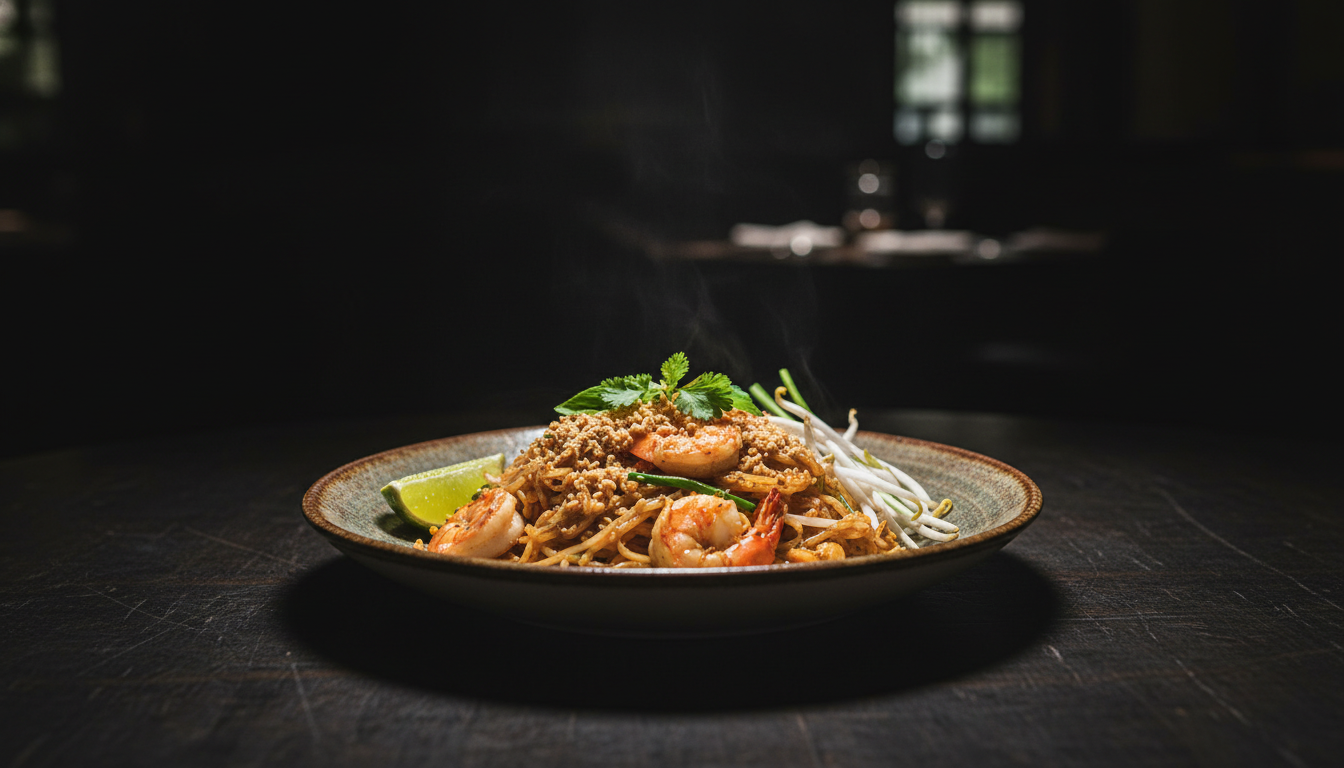
    Fold in the bean sprouts and spring onions — just 30 seconds, you want them to retain some crunch. Plate immediately and scatter with crushed peanuts, fresh cilantro, and a generous squeeze of lime. Serve with extra lime wedges, chilli flakes, and fish sauce on the side.

    👨‍🍳 Chef’s Tips

    • The wok must be screaming hot — “wok hei” (breath of the wok) is the smoky magic that makes Pad Thai taste authentic
    • Cook in small batches (max 2 portions at a time) — overcrowding cools the wok and steams instead of frying
    • Tamarind paste is non-negotiable — ketchup substitutes will make it taste like a tourist version
    • Soak noodles in cold water, not hot — they finish cooking in the wok
    • Add crushed peanuts at the last second — they should still be crunchy when you eat

    🥗 Nutrition Facts

    Per Serving

    520
    Calories
    68g
    Carbs
    28g
    Protein
    18g
    Fat
    3g
    Fiber
  • Chicken Teriyaki — Japan’s Perfect Weeknight Glaze

    Chicken Teriyaki — Japan’s Perfect Weeknight Glaze

    🇯🇵  Japanese Classic

    Chicken Teriyaki

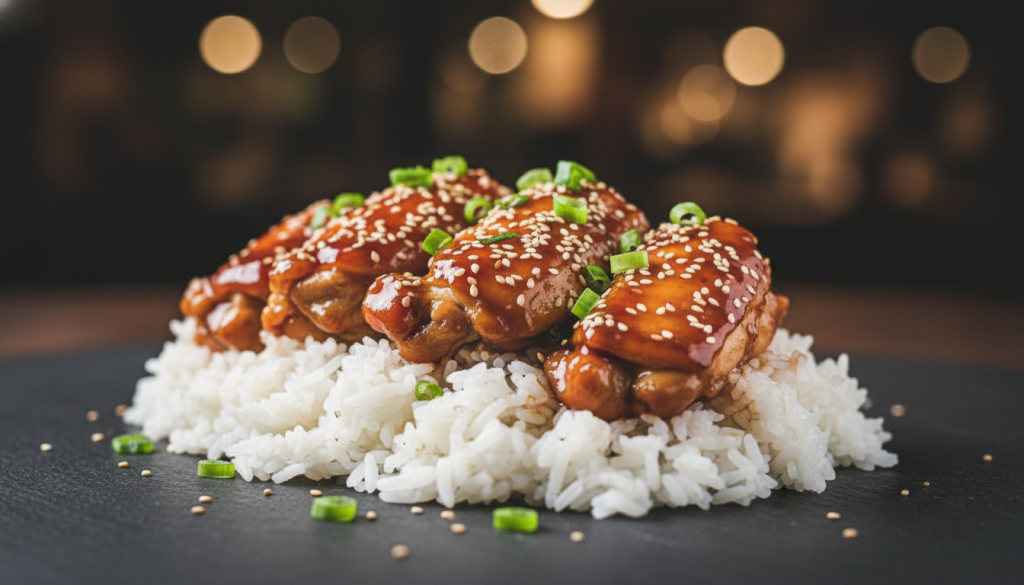
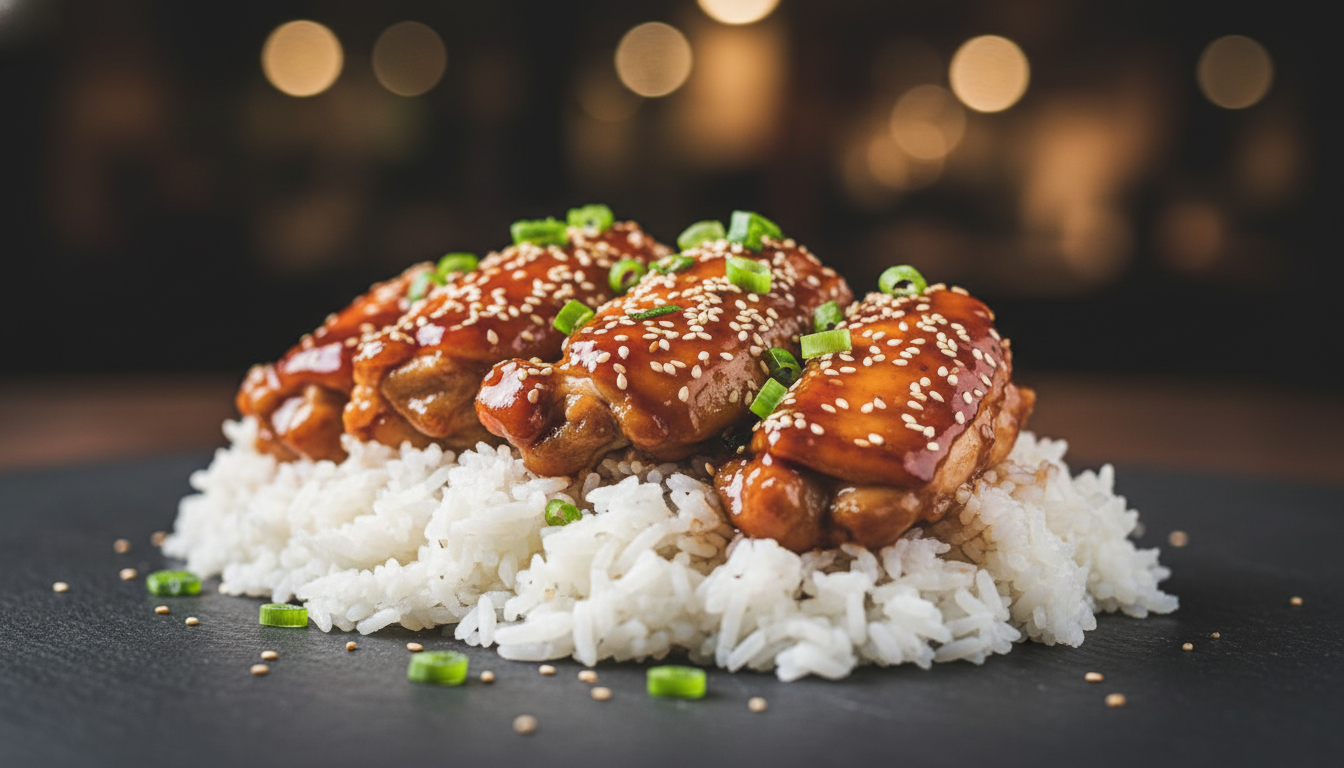
    Japan’s most beloved weeknight dinner — tender chicken glazed in a rich, sweet-savory teriyaki sauce, ready in just 30 minutes.

    ⏱ 10 min prep🍳 20 min cook👥 4 servings⭐ Easy🔥 420 kcal
    ↓ Jump to Recipe

    Few dishes capture the essence of Japanese home cooking quite like Chicken Teriyaki. Originating from the ancient technique of teri (glaze) and yaki (grill), this iconic dish transforms humble chicken thighs into something extraordinary. A silky, caramelized sauce of soy, mirin, and sake coats every bite, delivering that perfect balance of sweet and savory that has made teriyaki a global sensation.

    Prep Time
    10 min
    🍳
    Cook Time
    20 min
    Total
    30 min
    👥
    Servings
    4 people
    Difficulty
    Easy
    🌍
    Cuisine
    Japanese

    Ingredients

    For the Chicken

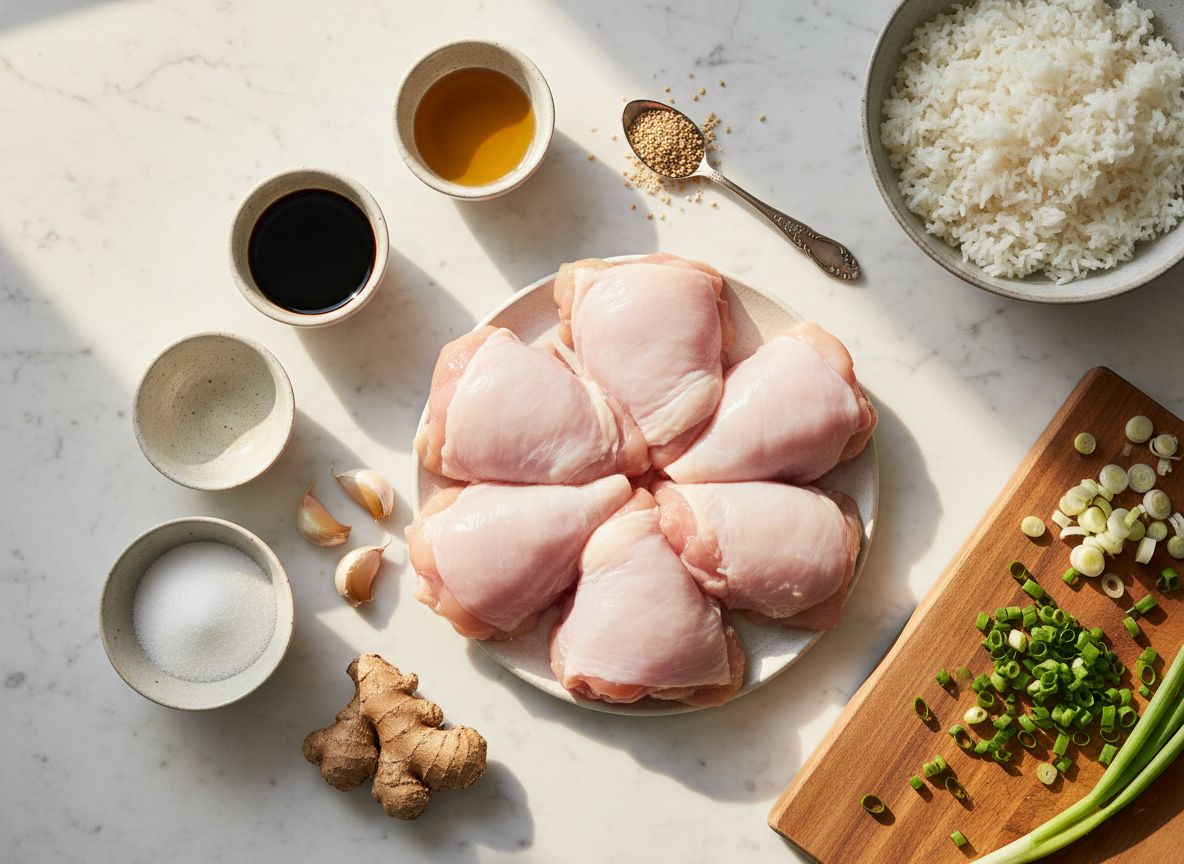
    • 800g boneless, skin-on chicken thighs
    • 1 tbsp neutral oil (sunflower or vegetable)
    • Salt and white pepper to taste

    For the Teriyaki Sauce

    • 80ml soy sauce (preferably Japanese)
    • 80ml mirin
    • 60ml sake (or dry sherry)
    • 2 tbsp caster sugar
    • 2 cloves garlic, grated
    • 1 tsp fresh ginger, grated

    To Serve

    • 400g Japanese short-grain rice, steamed
    • 2 spring onions, finely sliced
    • 1 tbsp toasted sesame seeds
    • Pickled ginger (optional)
    • Steamed broccoli or bok choy (optional)
    Chicken teriyaki ingredients

    Step-by-Step Instructions

    1

    Make the Teriyaki Sauce

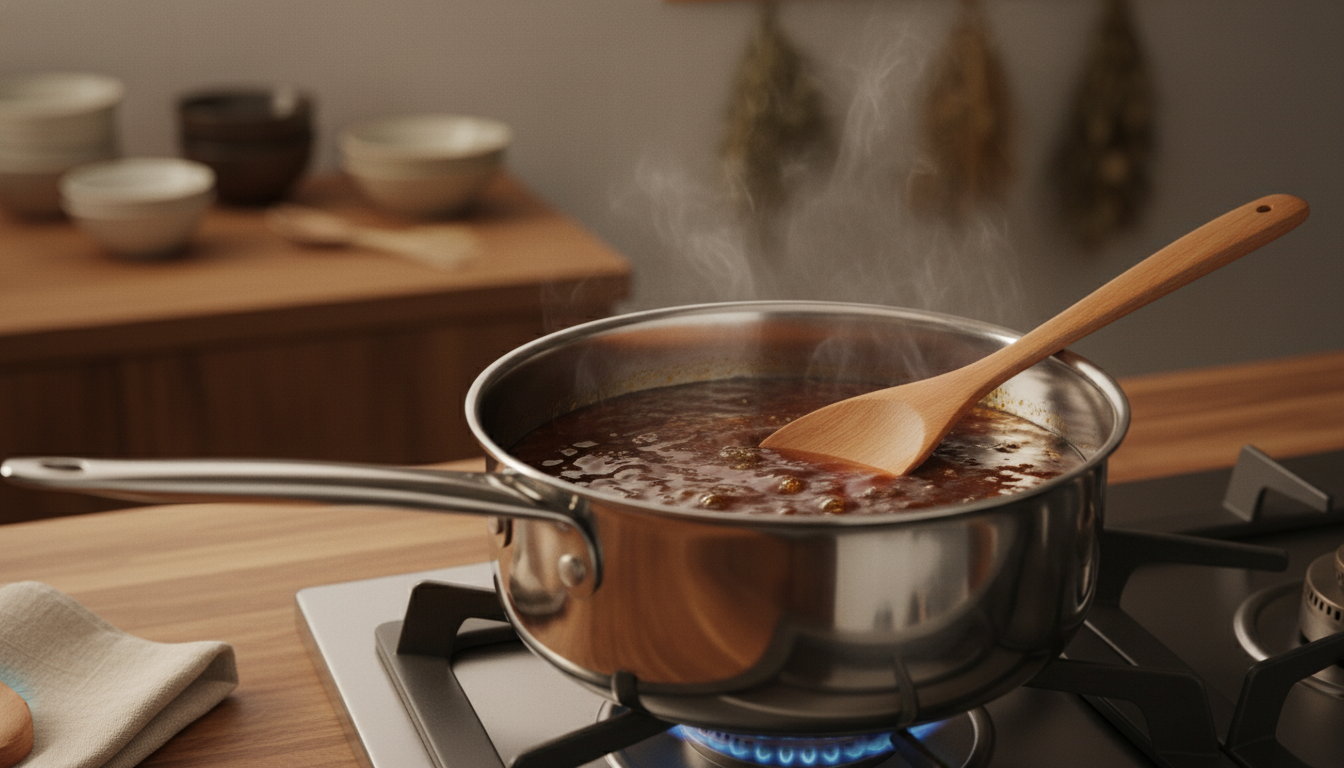
    Combine soy sauce, mirin, sake, sugar, grated garlic, and ginger in a small saucepan over medium heat. Stir until the sugar dissolves, then bring to a gentle simmer. Cook for 3–4 minutes until slightly thickened. Remove from heat and set aside.

    Teriyaki sauce simmering in saucepan
    2

    Prepare the Chicken

    Pat the chicken thighs completely dry with kitchen paper — this is essential for a proper sear. Score the skin a few times with a sharp knife to prevent curling. Season lightly with salt and white pepper on both sides.

    3

    Sear the Chicken

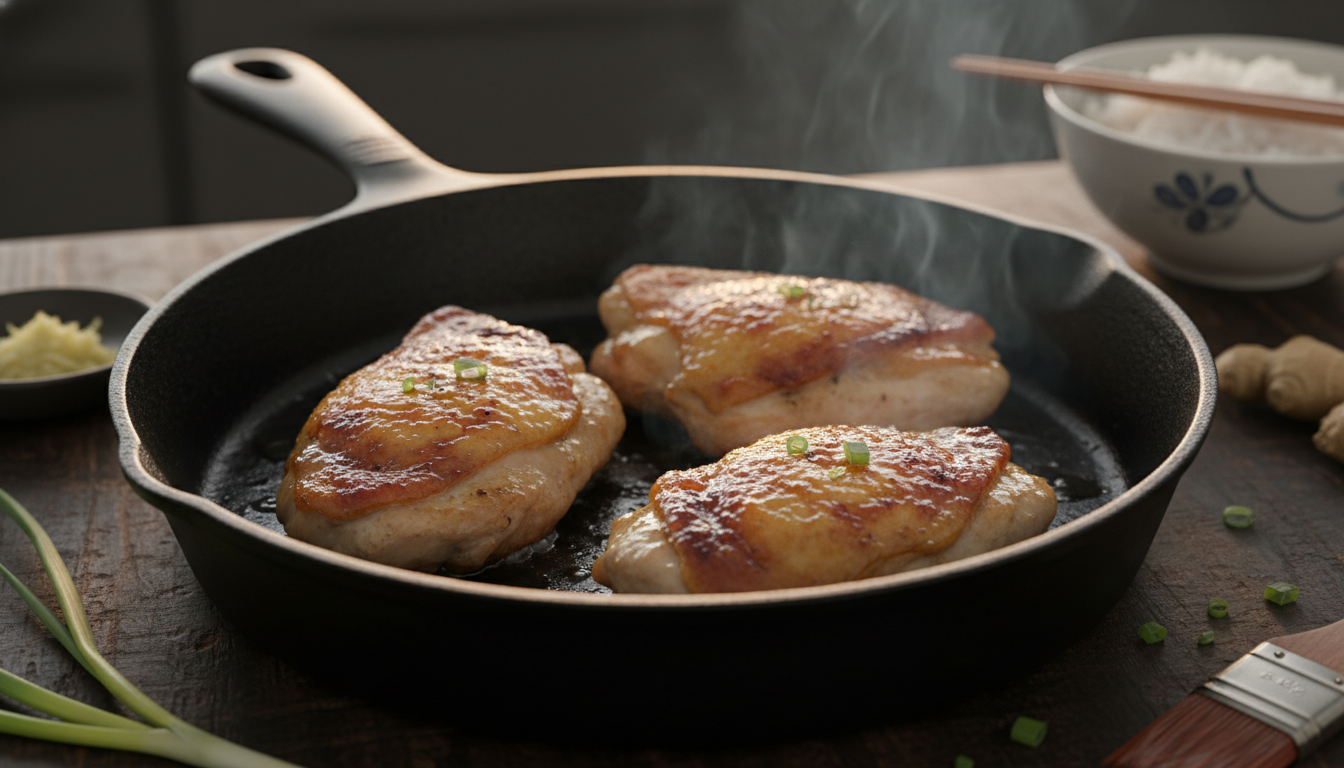
    Heat oil in a large heavy-based frying pan or cast-iron skillet over medium-high heat. Place chicken thighs skin-side down and press lightly with a spatula. Cook undisturbed for 7–8 minutes until the skin is deeply golden and crispy. Flip and cook for a further 5 minutes.

    Chicken thighs searing in cast iron skillet
    4

    Glaze with Teriyaki Sauce

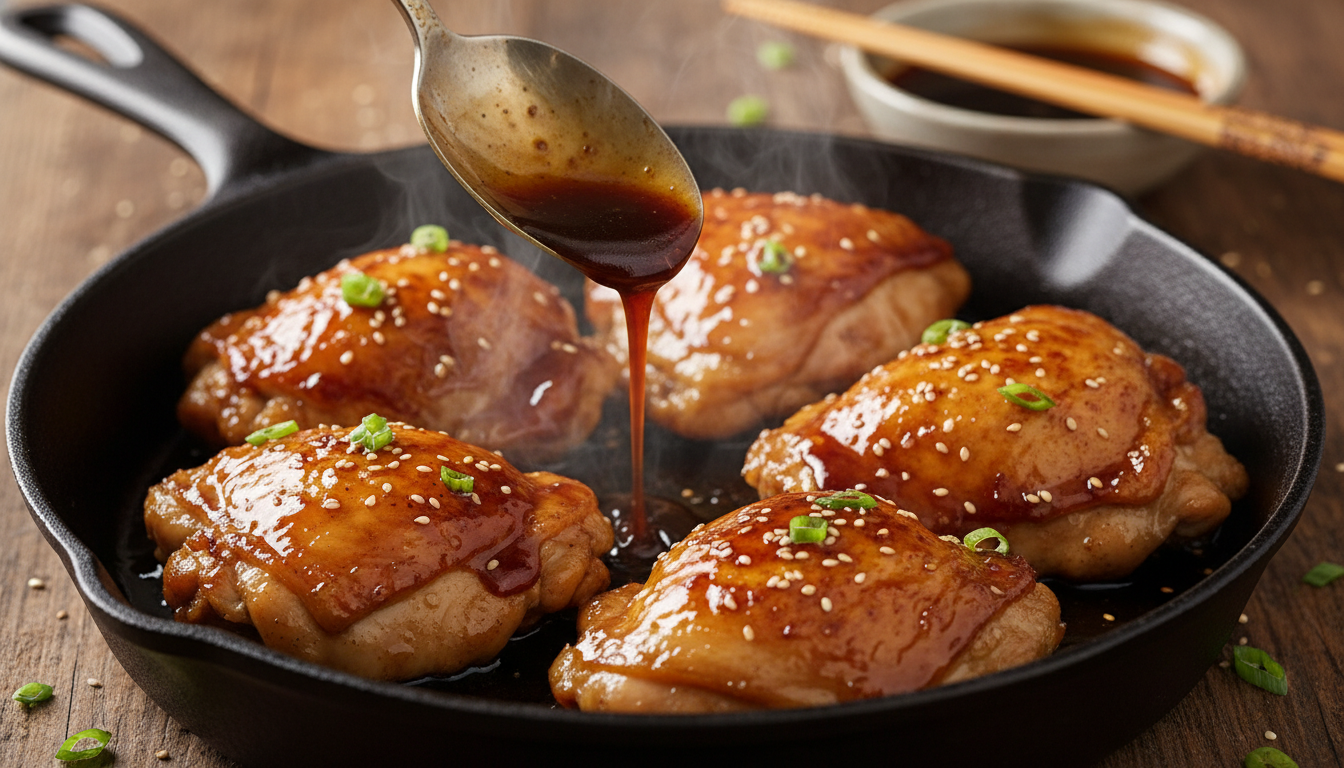
    Reduce heat to medium-low. Pour the teriyaki sauce over the chicken. Spoon and baste continuously as the sauce bubbles and reduces, coating the chicken in a gorgeous, lacquered glaze. Cook for 3–4 minutes until the sauce has thickened and the chicken is cooked through (internal temperature 75°C / 165°F).

    5

    Rest and Slice

    Transfer the glazed chicken to a cutting board and rest for 3 minutes. This allows the juices to redistribute, keeping every bite moist and tender. Slice diagonally into thick, glossy pieces — you’ll see the caramelized crust on the outside and juicy meat inside.

    Basting chicken with glossy teriyaki glaze
    6

    Plate and Serve

    Mound steamed Japanese rice in warm bowls. Fan the teriyaki chicken slices over the rice. Drizzle any remaining pan glaze over the top, then scatter with sliced spring onions and a generous pinch of toasted sesame seeds. Serve immediately with pickled ginger on the side.

    👨‍🍳 Chef’s Tips

    • Skin-on thighs give the best flavour and texture — boneless breasts work but dry out more easily
    • Dry the chicken thoroughly before searing — moisture is the enemy of a crispy skin
    • Real mirin makes a significant difference — avoid “mirin-style seasoning” if you can
    • Don’t rush the glaze — let it reduce slowly for a deeper, more complex flavour
    • Leftover teriyaki chicken is incredible in a bento box with rice and pickles the next day

    🥗 Nutrition Facts

    Per Serving

    420
    Calories
    38g
    Carbs
    34g
    Protein
    14g
    Fat
    2g
    Fiber
  • Spaghetti al Pomodoro — The Soul of Italian Cooking

    Spaghetti al Pomodoro — The Soul of Italian Cooking

    🇮🇹  Italian Classic

    Spaghetti al Pomodoro

    The soul of Italian cooking — silky tomato sauce, fresh basil, and perfectly al-dente spaghetti in just 40 minutes.

    ⏱ 15 min prep🍳 25 min cook👥 4 servings⭐ Easy🔥 480 kcal
    ↓ Jump to Recipe

    There’s a reason this dish has survived centuries of Italian cooking: it’s honest, beautiful, and deeply satisfying. Spaghetti al Pomodoro — spaghetti with tomato sauce — is the soul of Italian cuisine distilled into a single bowl. With just a handful of quality ingredients, you can create something that tastes like it came straight from a trattoria in Naples.

    Prep Time
    15 min
    🍳
    Cook Time
    25 min
    Total
    40 min
    👥
    Servings
    4 people
    Difficulty
    Easy
    🌍
    Cuisine
    Italian

    Ingredients

    For the Pasta

    • 400g dried spaghetti
    • 4 litres water
    • 2 tbsp coarse sea salt

    For the Sauce

    • 800g San Marzano tomatoes (canned)
    • 6 cloves garlic, thinly sliced
    • 80ml extra virgin olive oil
    • 1 tsp caster sugar
    • 1 large bunch fresh basil
    • ½ tsp dried chilli flakes
    • Salt and black pepper to taste

    To Serve

    • 80g Parmigiano Reggiano, freshly grated
    • Fresh basil leaves
    • Extra virgin olive oil for drizzling
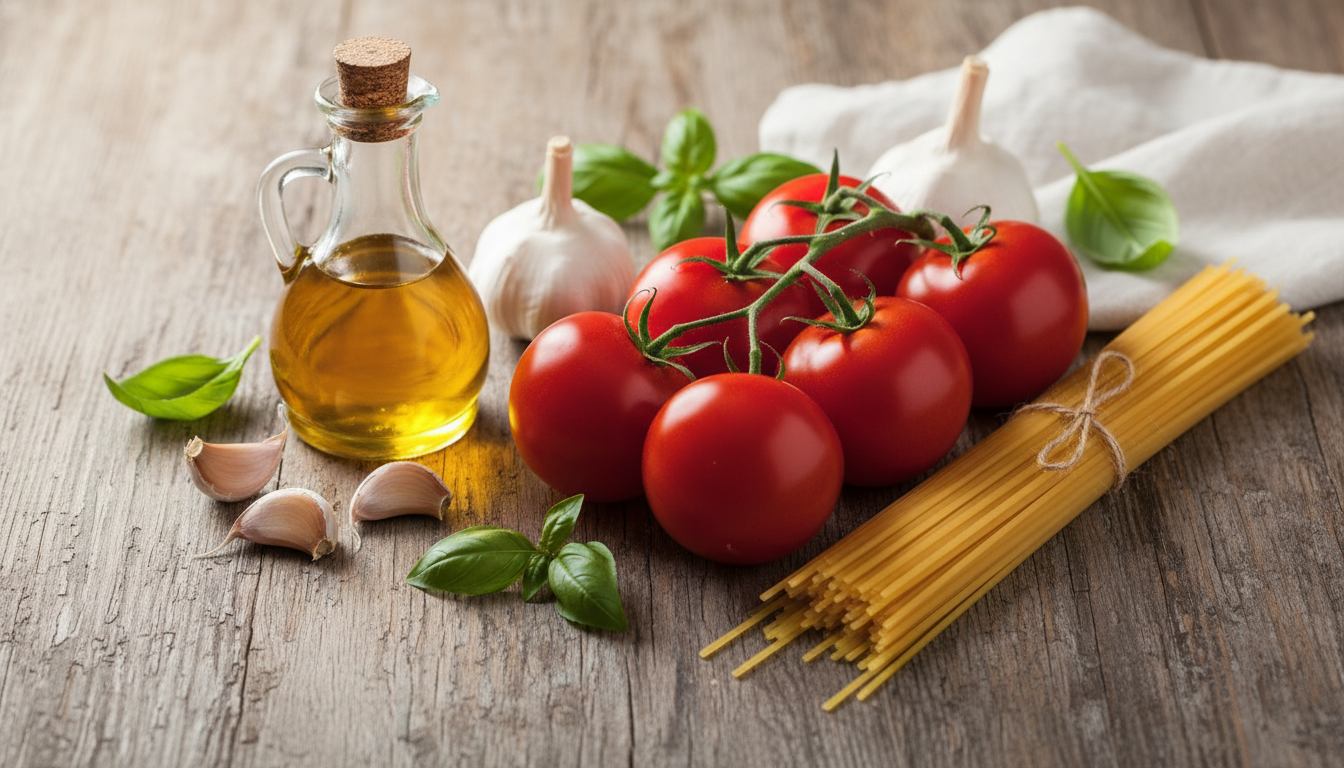
    Pasta ingredients

    Step-by-Step Instructions

    1

    Prepare the Tomato Base

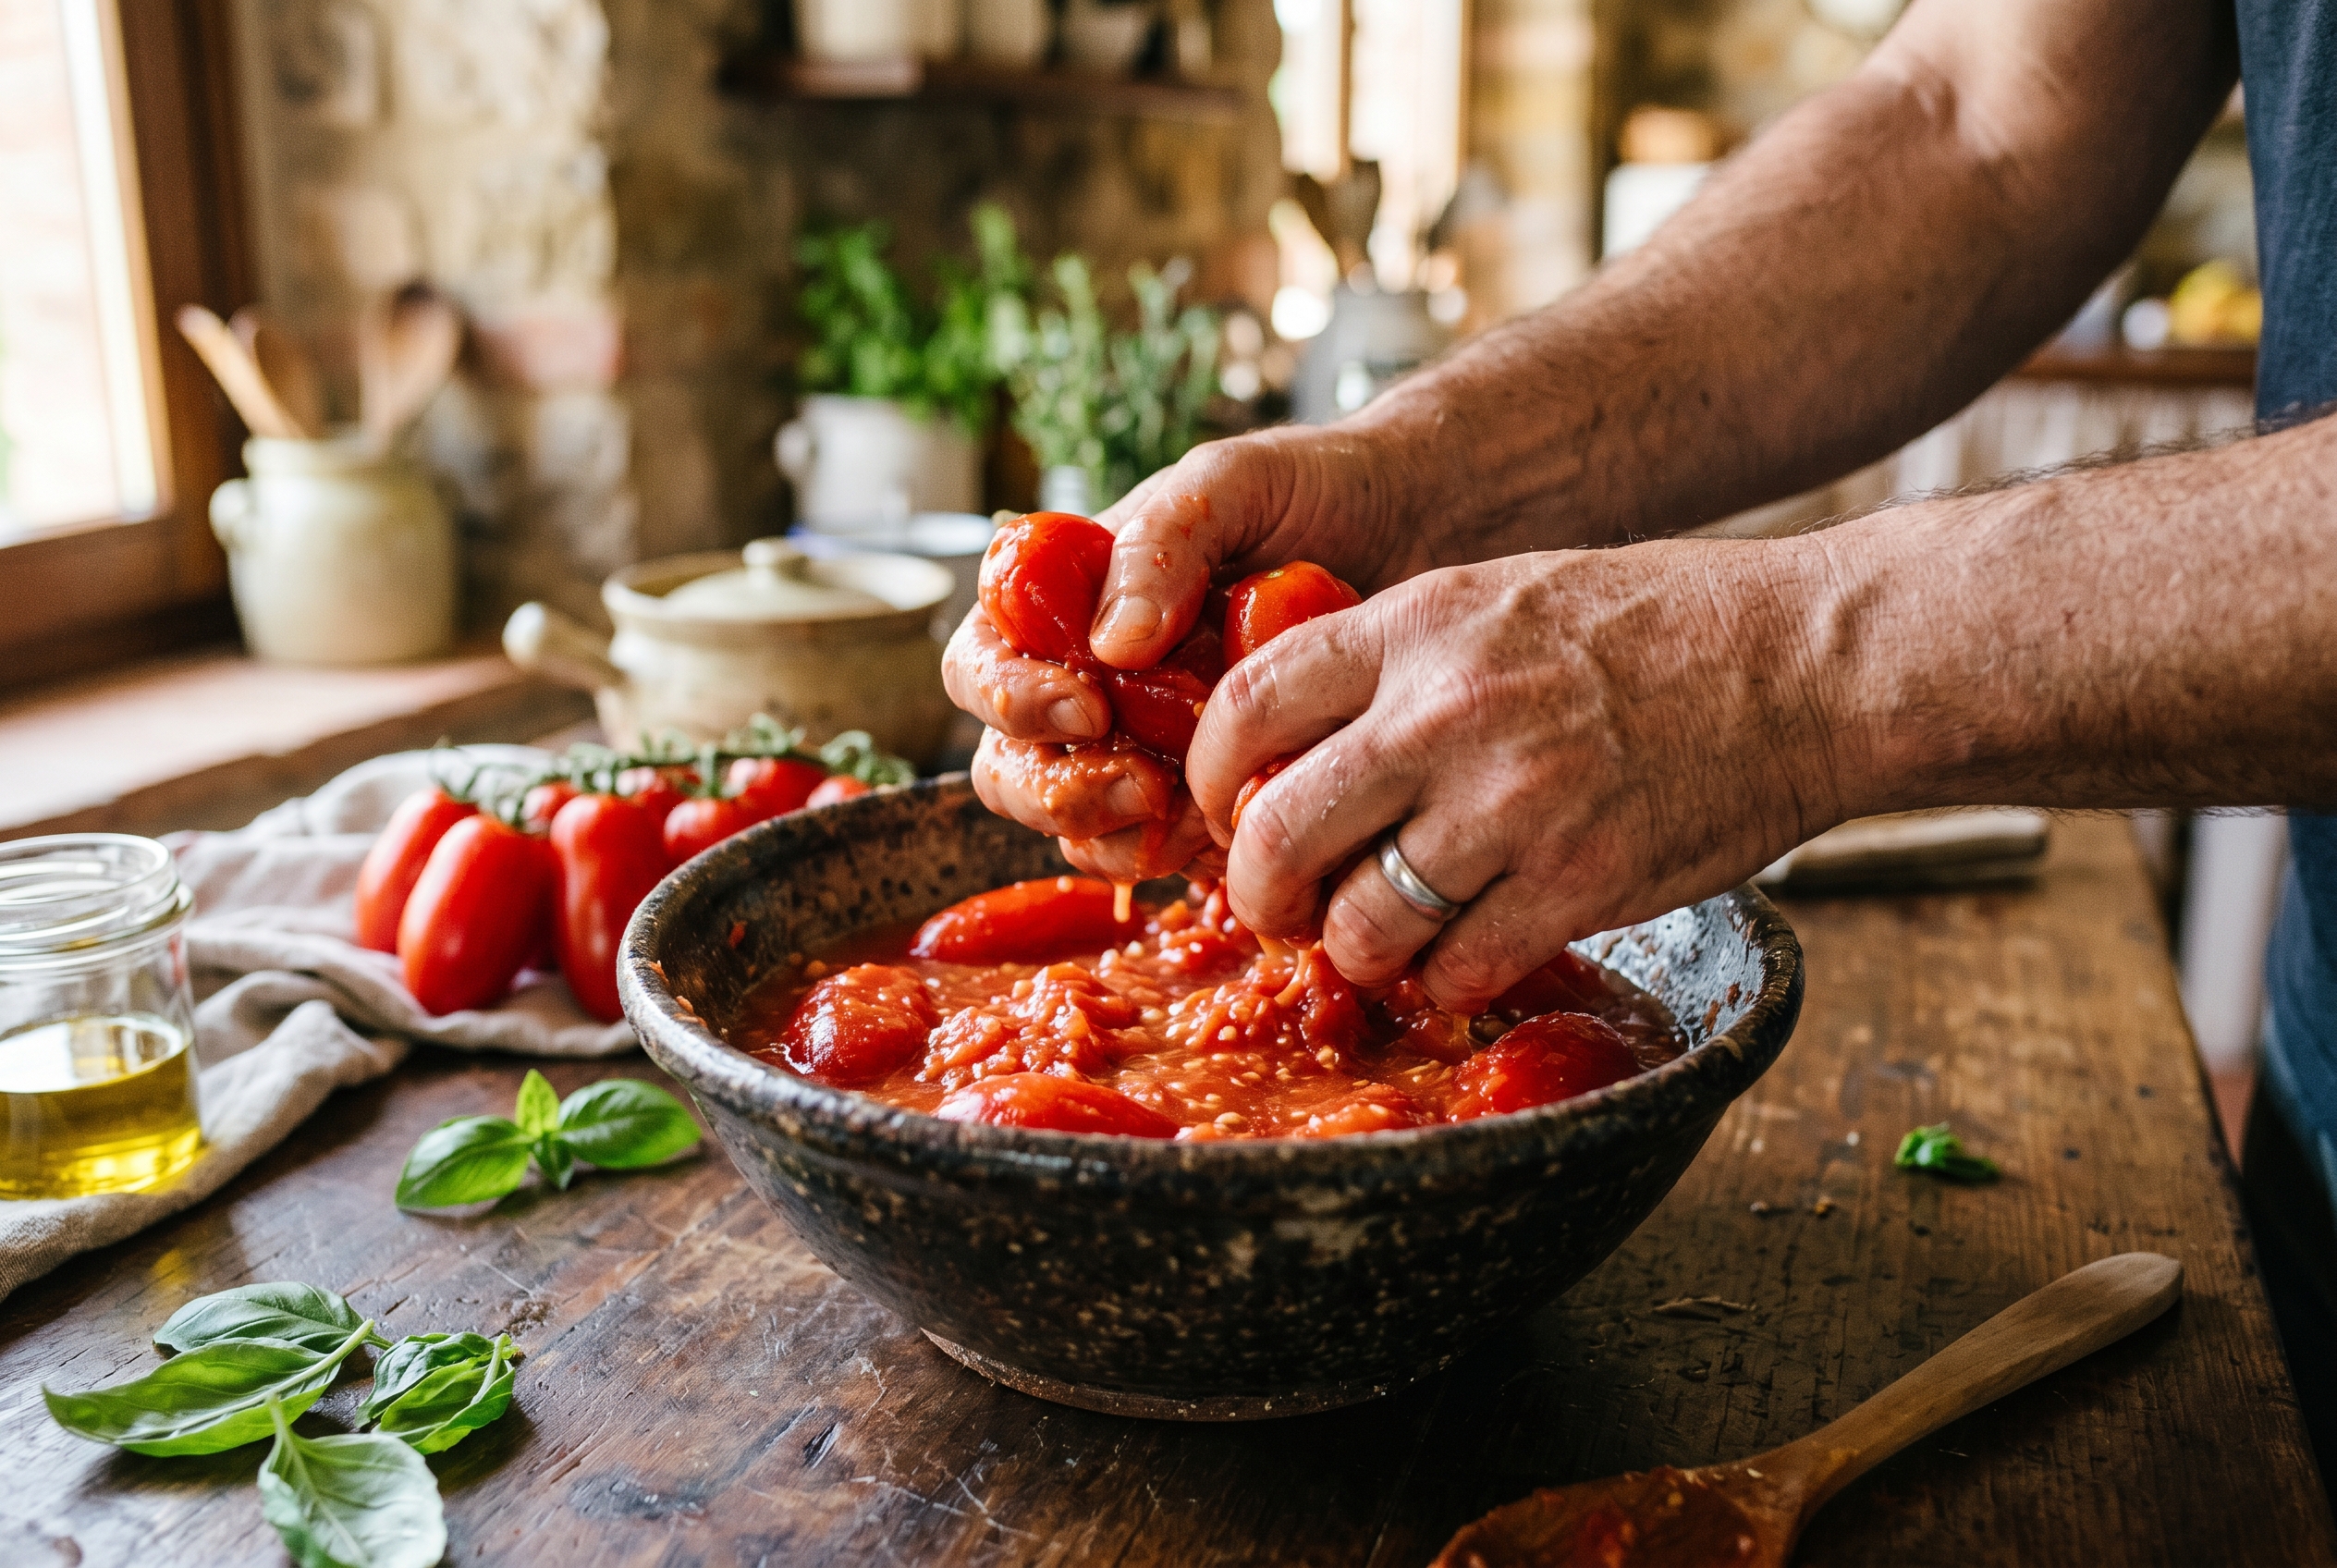
    Pour the San Marzano tomatoes into a bowl and crush them by hand — squeeze each tomato until it breaks down into a rough, chunky pulp. Remove any tough stem pieces.

    Hands crushing San Marzano tomatoes into a bowl
    2

    Build the Soffritto

    In a large, wide saucepan over medium-low heat, warm the olive oil. Add the sliced garlic and chilli flakes. Let them gently sizzle for 3–4 minutes until the garlic is soft and just beginning to turn golden.

    3

    Simmer the Sauce

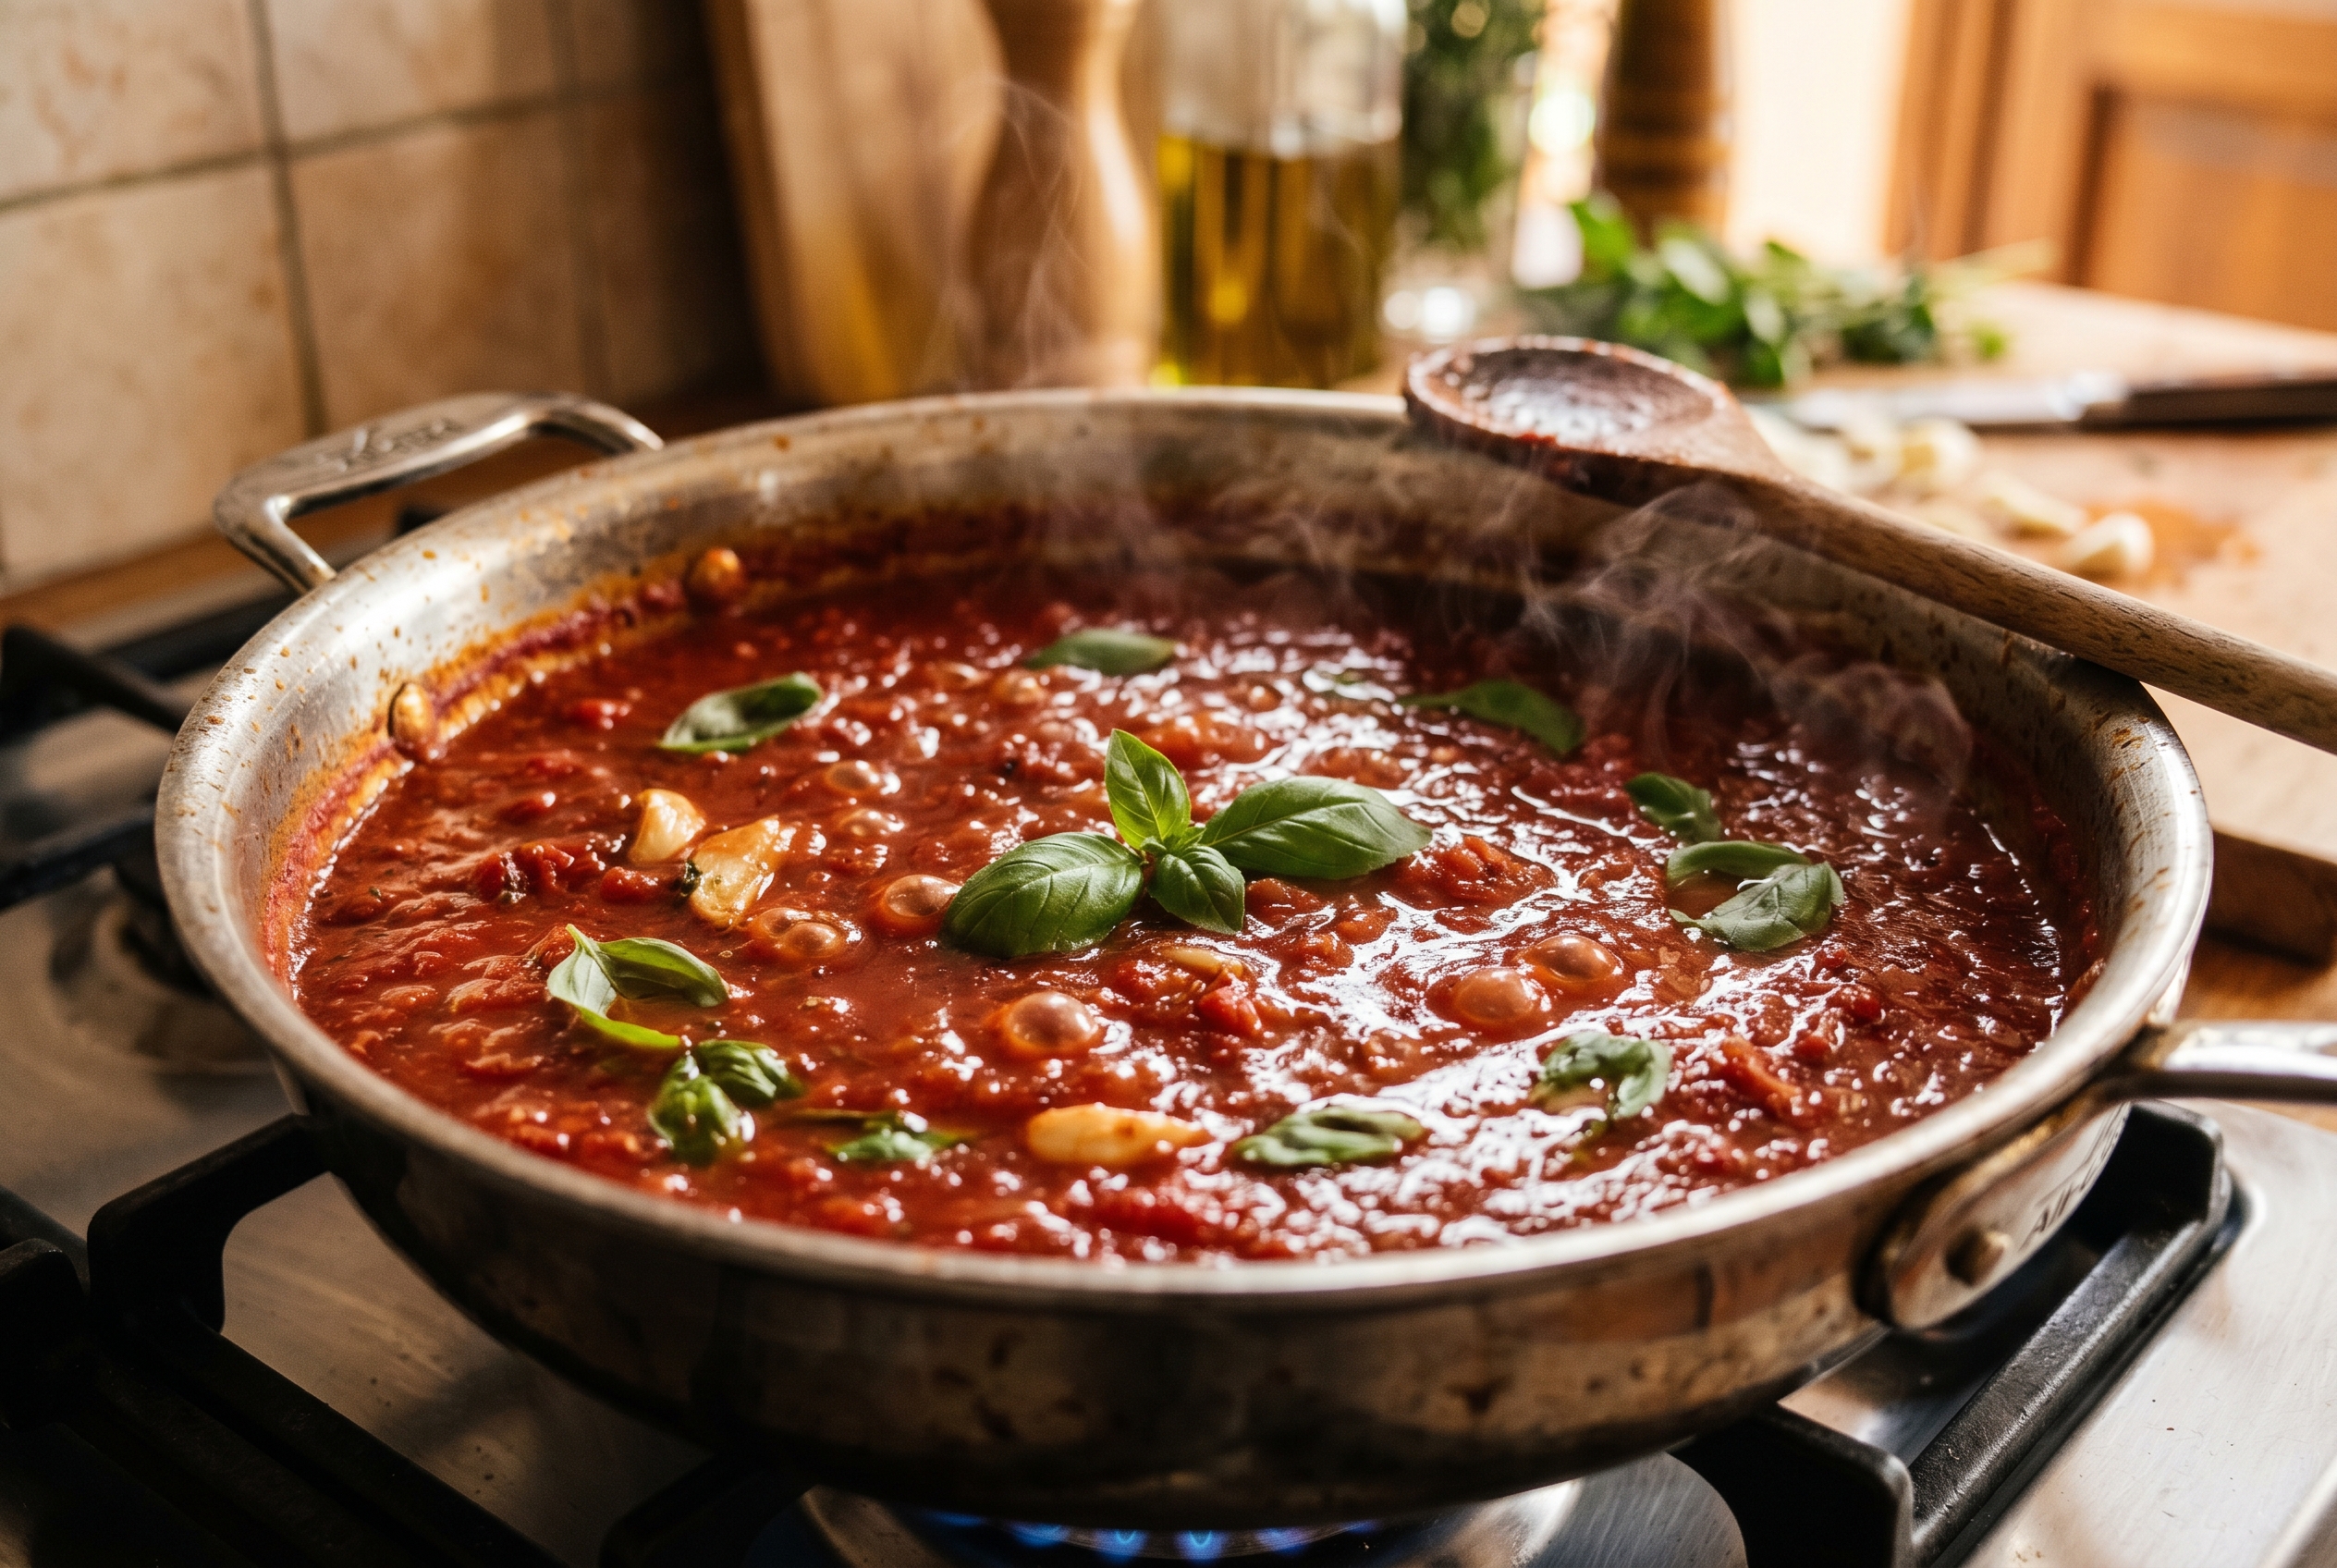
    Add the crushed tomatoes to the pan. Add the sugar, a generous pinch of salt, and half the basil. Increase heat to bring to a bubble, then reduce to medium-low. Simmer uncovered for 20 minutes until the sauce reduces by one-third and turns a deep, rich red.

    Rich red tomato sauce simmering in a wide pan
    4

    Cook the Spaghetti

    Bring a large pot of water to a rolling boil. Add the sea salt. Cook the spaghetti according to package instructions but taste it 2 minutes early. Before draining, reserve 250ml of the starchy pasta cooking water.

    5

    Marry the Pasta and Sauce

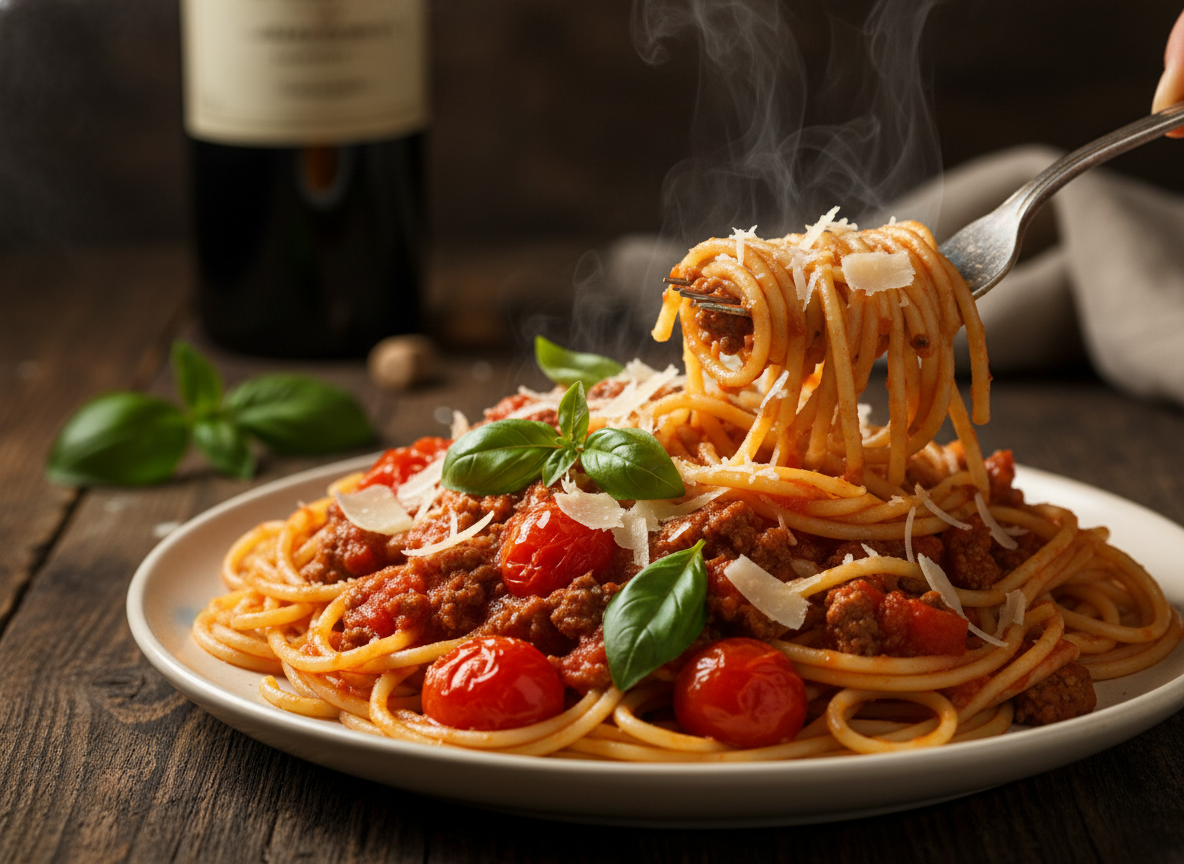
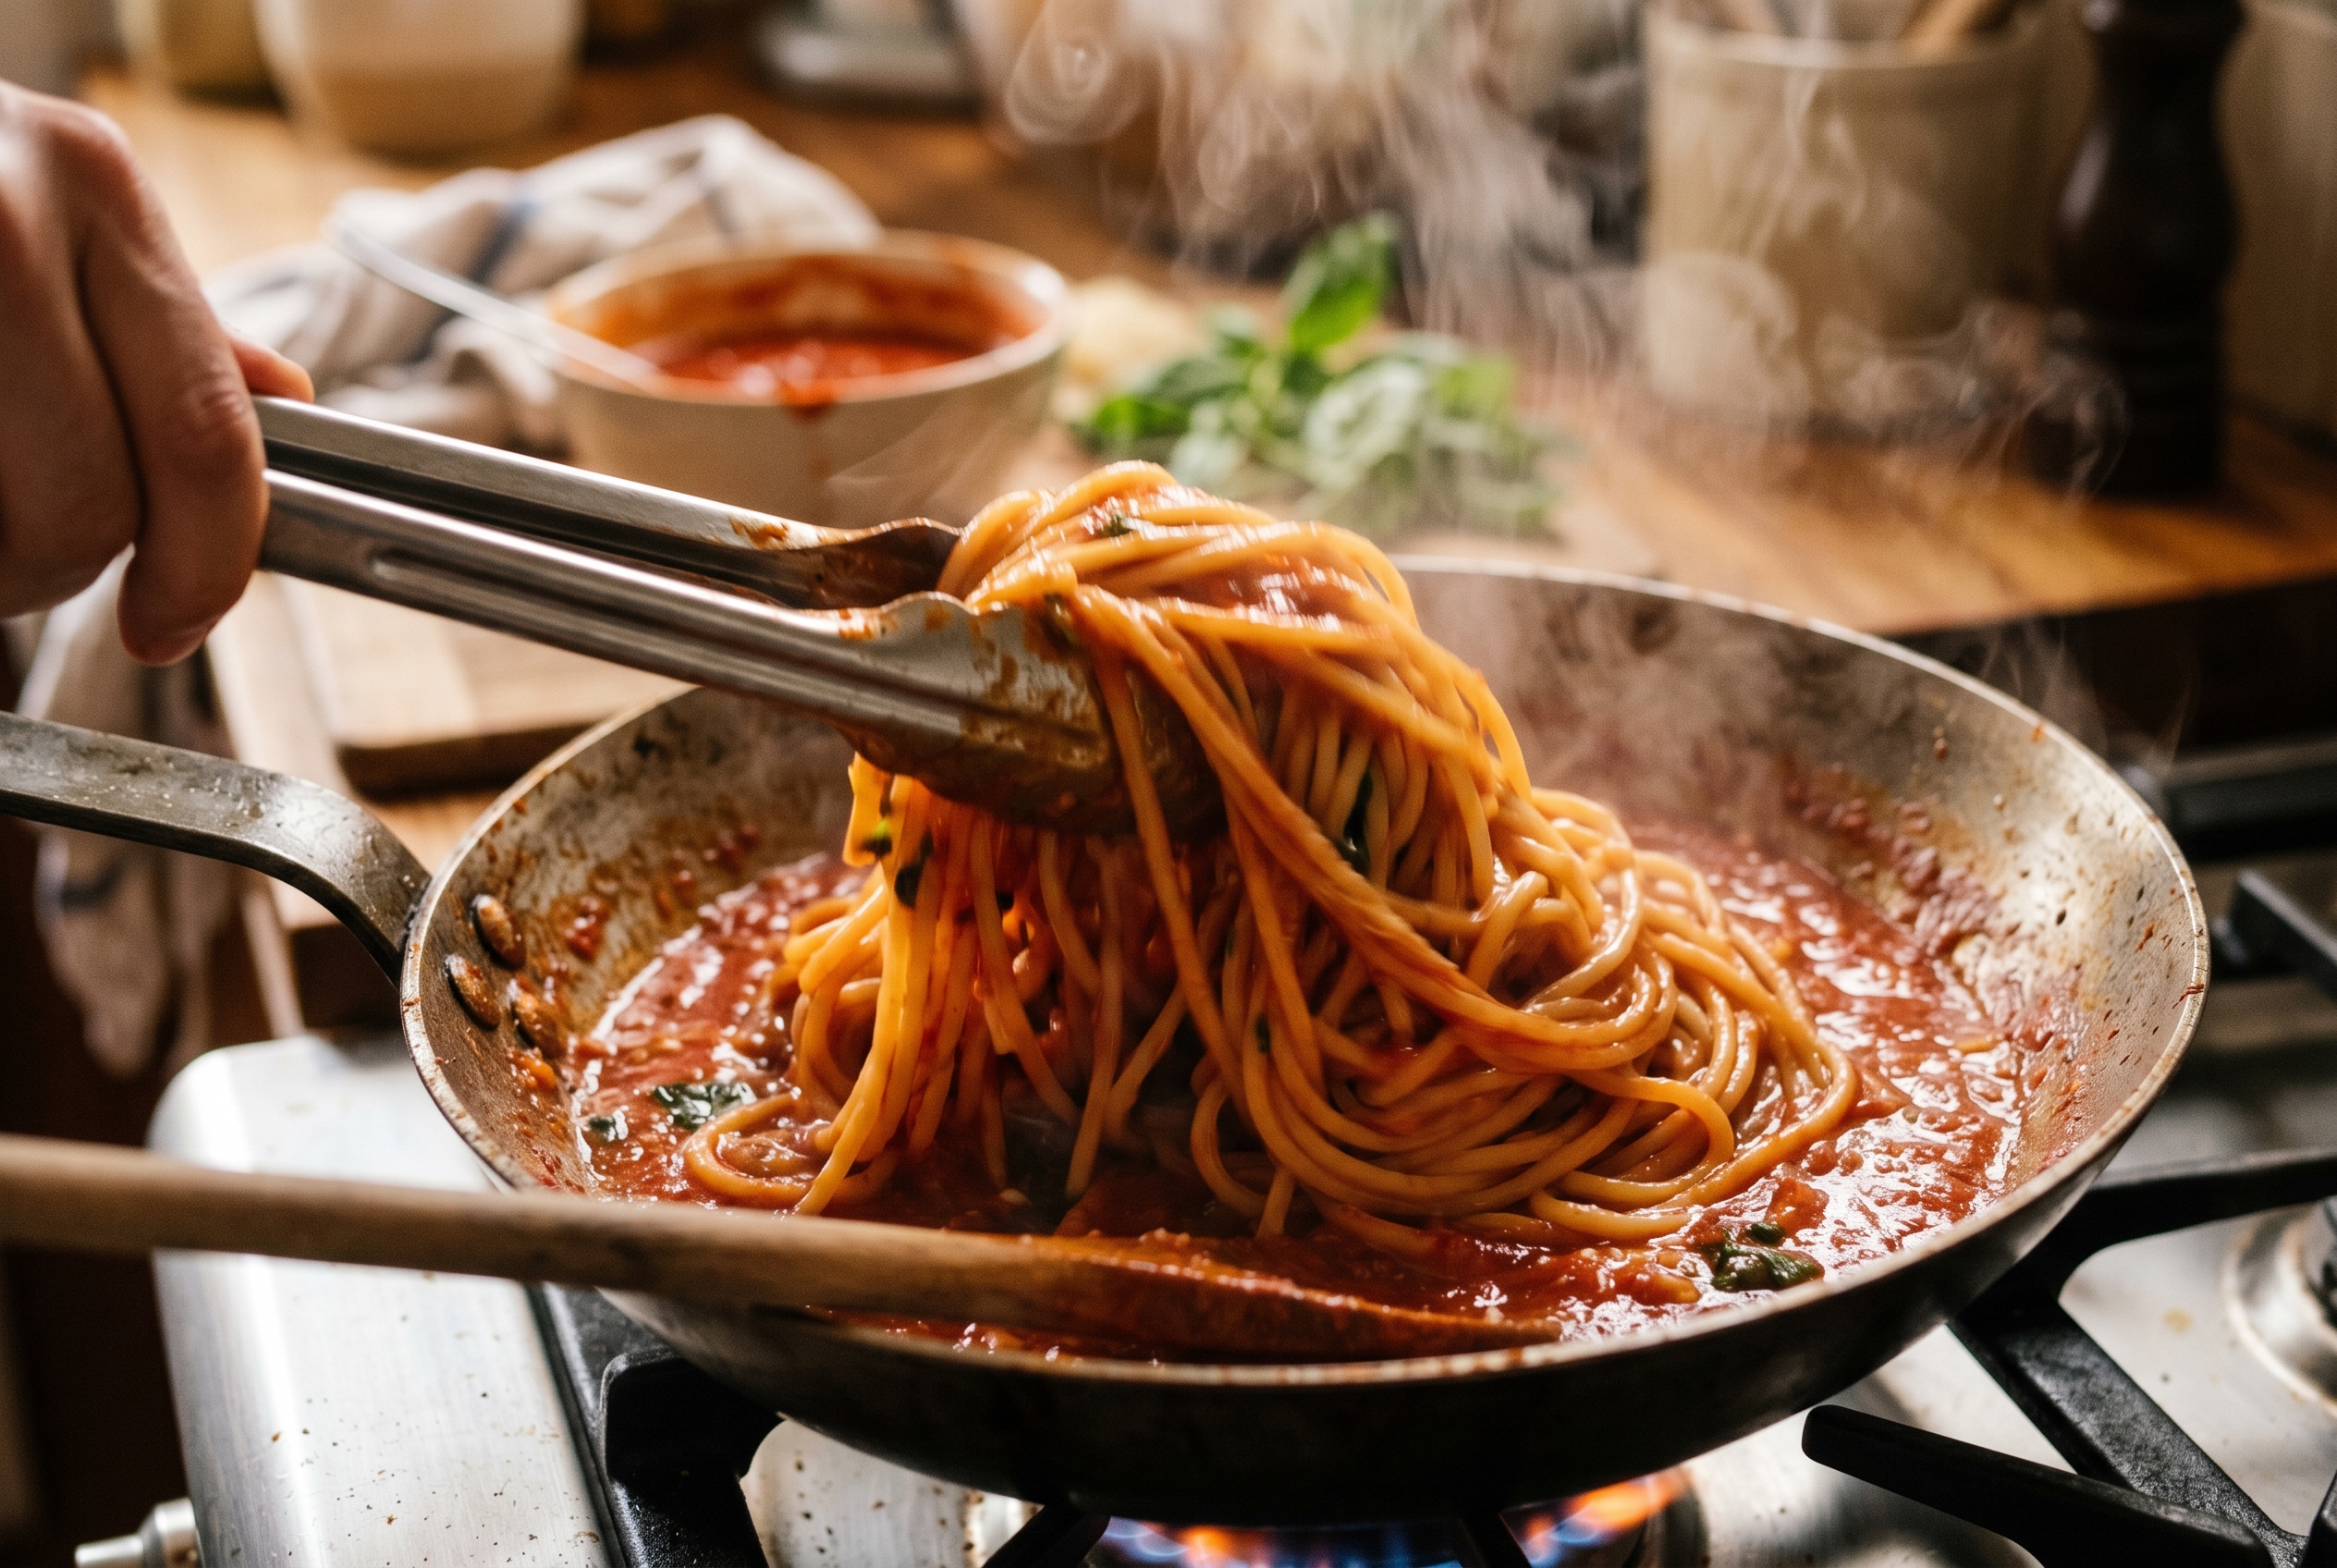
    Add the drained spaghetti directly to the sauce pan over medium heat. Toss vigorously with tongs, adding splashes of pasta water to help the sauce coat every strand in a glossy, silky film.

    Tossing spaghetti strands in tomato sauce with tongs
    6

    Plate and Serve

    Twirl the spaghetti into warm bowls using tongs. Tear fresh basil leaves over the top, grate a generous snowfall of Parmigiano Reggiano, and finish with a spiral of your finest olive oil. Serve immediately.

    👨‍🍳 Chef’s Tips

    • San Marzano tomatoes from the DOP region are worth every penny — their sweetness is unmatched
    • Never rinse your pasta — the starch is liquid gold for sauce
    • Resist the urge to add more ingredients — simplicity is the point
    • For a richer sauce, add a knob of butter at the end off the heat
    • Use the pasta cooking water generously — it’s the secret to a silky, restaurant-quality sauce

    🥗 Nutrition Facts

    Per Serving

    480
    Calories
    72g
    Carbs
    14g
    Protein
    16g
    Fat
    5g
    Fiber